Web Portfolio | ASW
Side note: This used to be reffered to as Boba Drops. After talking with the person that runs the Boba Drops program at Hack Club it turns out editting a template is not what they are looking for. A better guide on how to make a custom fun website (more fun than useful) will come out soon and be written better than this one.
A Web portfolio is a place for you to be able to share things about the technologies that you are able to work with and share something about some of the projects that you have worked on.
You are going to be filling out a template, here is the exemplar from Landpirate:
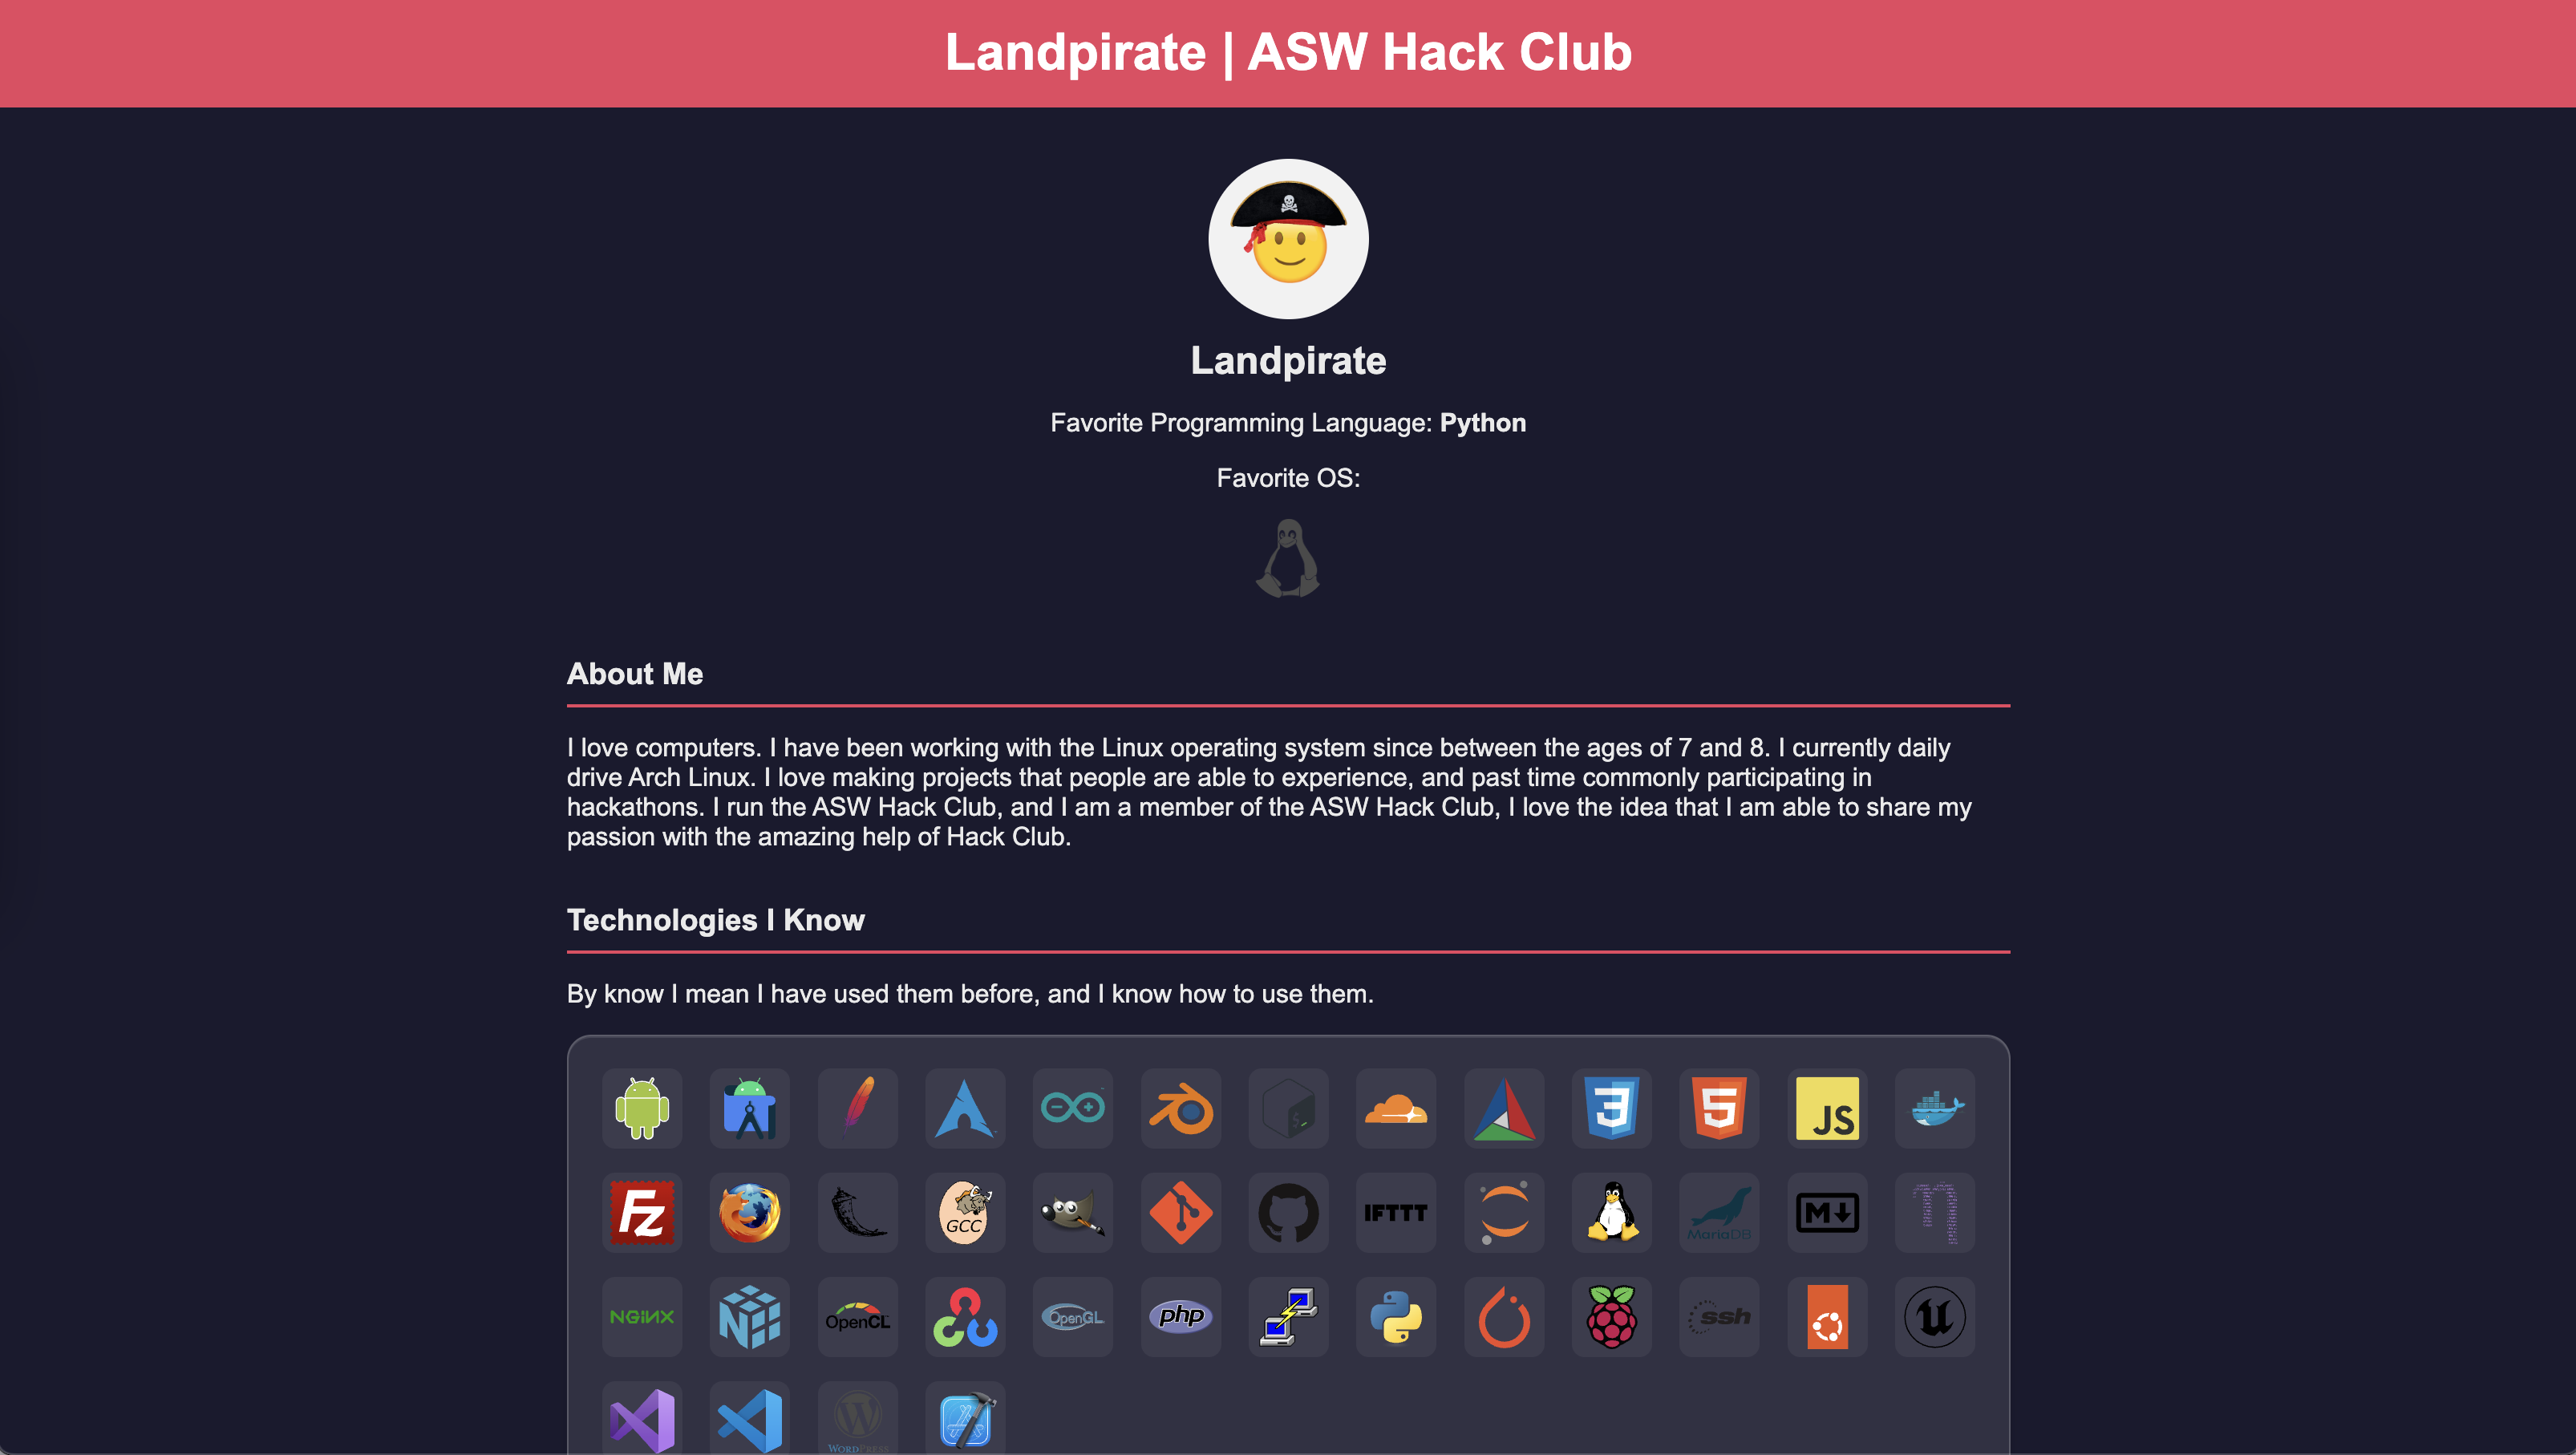
You are going to be filling out a simple template to be able to make your own page just like this one!
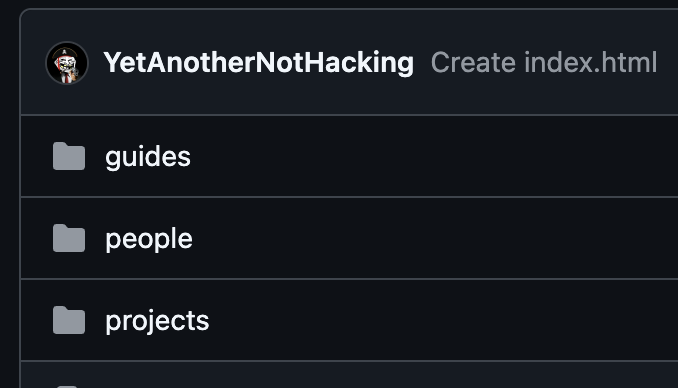
You first need to go to YetAnotherNotHacking's (aka landpirate) repo with this site. You are going to fork it just like you see in this image, you can name it anything (or litteraly anything if you want to be unfunny)
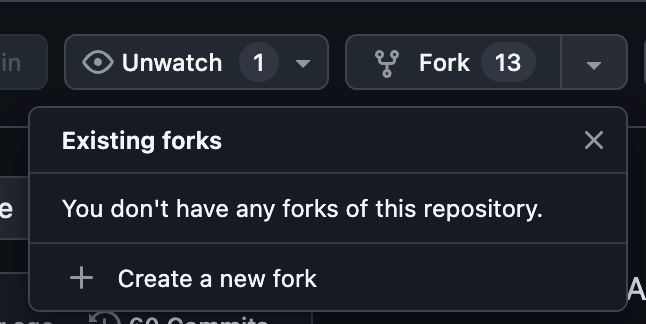
If you canot find the fork button, make sure you are in the repo and are logged in to github, you are looking at the top right for the button called "fork".
Once you have pressed the fork button, you should make sure that you are in your repository. Do this by clicking on your profile picture in the top right, and then selecting the "Your Repositories" button. You should see the repo you just cloned at the top, if not, search for it, or try forking it again.
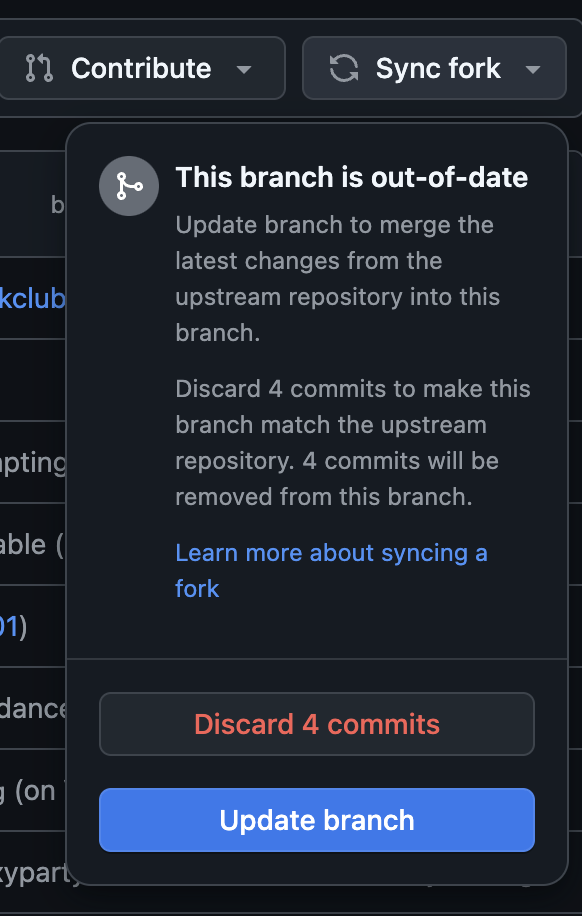
Now you are in your local version of the code. This is a mirror of the code from the time that you pressed "fork". If changes are made on YetAnotherNotHacking's repo (that happens a lot) you want to press the "Sync Fork" button to avoid causing overlapping edits or other issues.
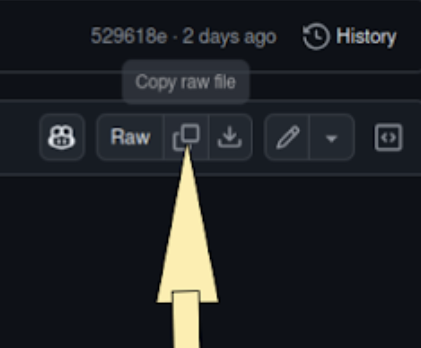
Once you are sure that you have all of your local code ready, you are able to start editing your page! The template file that we are using is in template.html, you should open it, press the copy raw button, and then move into the people folder, create a new file with your userername all lowercase with a .html on the end of it and paste in the code.
Getting template.html code:

Copy Raw Button (its in the top right)
Going into the people folder:
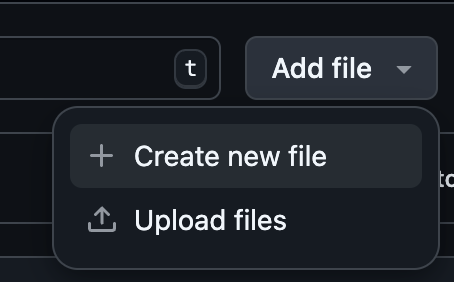
Creating the new file, you are going into the top right and clicking Add File and then Create new file:
Just paste in the code like normal, command + v or ctrl + v, and now we get to start editing!
Now we should look at what all of this geeble goobledy gook is, and what you can change, and why it changes it.
Page Title:
Code:
<title>USERNAME</title>
Code Preview:

What this code does:
Yay- This one is extremely simple. It just is telling the browser what to set the title of the page to. The title is the name that it uses when it appears in your tabs. This is at the top of the script most of the time, if you are interested in making your own new pages, that is the nornal structure.
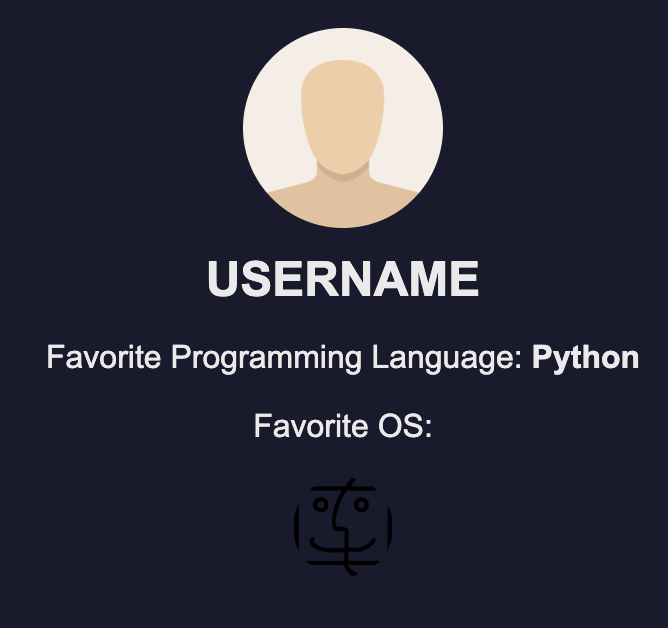
Profile Section:
Code:
<div class="profile">
    <!-- Replace 'defaultavatar.png' with your avatar if available -->
    <img src="defaultavatar.png" alt="Profile Picture">
    <h2>USERNAME</h2>
    <!-- Update this with your favorite programming language -->
    <p>Favorite Programming Language: <strong>Python</strong></p>
    <!-- Favorite OS Selection -->
    <div class="os-options">
        <p>Favorite OS:</p>
        <!-- Uncomment your preferred OS icon (changing it from linux means your weak - JK)-->
        <img src="macosx.png" alt="macOS" title="macOS">
        <!-- <img src="windows.png" alt="Windows" title="Windows"> -->
        <!-- <img src="macosx.png" alt="macOS" title="macOS"> -->
    </div>
</div>
Code:
What this code does:
You are able to see that this is part of the class "profile" meaning that it is taking the styling that is applied in the CSS (code at the top of the file) to apply any styling, colors, or any other things like positioning that you added in the CSS. It is in a div, which is like a container for things in HTML. This div is holding some text, images, and some other elements of the profile section of the template.
The img tag is used to add images into the web page. You are able to see that the image we are currently loading in is the template's default avatar. We don't want to use that, so just grab whatever profile picture that you like using, and upload the file with the same name as the html page we are working on (you should do this in a new window if you are editting you code in your current one) and put it in the people folder as well so that it can be loaded in easily. For example, the exemplar is landpirate, he uploaded the landpirate.png and included it in the same place that we are working on here.
Inside the h2 tags you are able to see "USERNAME" written. You should change that to the username you chose for your HTML file. Preffereably with a funny emoji to go with it!
For the favourite programming language element, you are just going to tpye the name of your favorite programming language in into the strong tags. If this is the only project you have worked on related to coding, just choose HTML5 as your favourite programming language.
The final element in this section is the "favourite operating system". You are able to see that the code makes use of the comment feature in HTML. Comments are visible in the sourcecode, but the browser wont render them, meaning you are not able to see them when you visit the web page. Comments are creating with < ! -- at the beggining of the section you intend to comment, and --> at the end. You want to remove these symbols from the one that you like the most, and keep them on all of there other ones. Only have one uncommented for this to work corrently. Other than that, the images are already set so you do not really have to do anything about that.
That's about it for this section with your profile picture! You are able to see how this looks if you follow the tutorial on how to install Live Server to be able to look at the code on your browser. If your images arent working, do not have too much concern because they will work on the server.
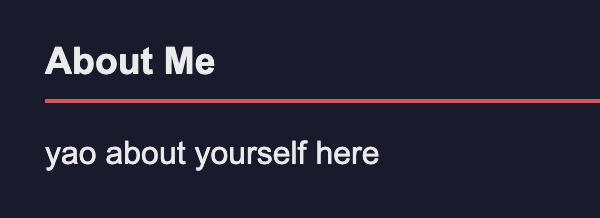
About me:
Code:
<!-- About Me Section -->
<div class="section">
    <h3>About Me</h3>
    <p>yao about yourself here</p>
</div>
Code preview:
What this code does:
Horay! Another simple explenation. This is just a really simple element of the page. You are able to see that there is a class for the section, this is using the CSS styling that I talked about earlier to make sure that it is styiling the text how we want it to. It uses the h3 tag to make the text a little bigger to make sure that you are able to see the about me just a little bit easier.
Then it is just a p tag where you are able to enter some content about yourself. Please be creative and thoughtful about this. Landpirate had an ok about me, but for a really good about me, check out the xshuck's profile. You are looking to try to include a range of your personal interests, maybe a little bit about why you joined hack club, and some things that you do in your freetime. Memes are allowed but keep it appropriate.
Technologies I know:
Code:
<h3>Technologies I Know</h3>
<div class="tech-grid">
    <img src="https://cdn.jsdelivr.net/gh/devicons/devicon@latest/icons/unrealengine/unrealengine-original.svg" />
    <img src="https://cdn.jsdelivr.net/gh/devicons/devicon@latest/icons/android/android-original.svg" />
</div>
Code Preview:

What this code does:
This code has a lot to it. I assume that you have not worked with Unreal Engine and Android, these are the ones I happened to have in my clipboard history when I was making the template. You are going to grab your own icons from Devicon.
You can just add in more icons like you see here when you have the icons that you have worked with, or if this is the only project that you have worked on, then you are able to take these icons, as they are what you have generally been working with in this club so far:
<img src="https://cdn.jsdelivr.net/gh/devicons/devicon@latest/icons/html5/html5-original.svg" />
<img src="https://cdn.jsdelivr.net/gh/devicons/devicon@latest/icons/css3/css3-original.svg" />
<img src="https://cdn.jsdelivr.net/gh/devicons/devicon@latest/icons/apache/apache-original.svg" />
You should try to expand this aas you learn new things! This is meant to be a really simple portfolio that is being hosted on the web for people to be able to find you! The more you learn, the more you can share, this is how to be cool & popular in the programming world. 💯💯💯
Projects Section
Code:
<!-- Projects Section -->
<div class="section">
    <h3>Projects</h3>
    <!-- Example Project 1 -->
    <div class="project-item">
        <h4>Project Title</h4>
        <p>Short description of the project. Update the link below.</p>
        <a href="#">Project Link</a>
    </div>
</div>
Code Preview:
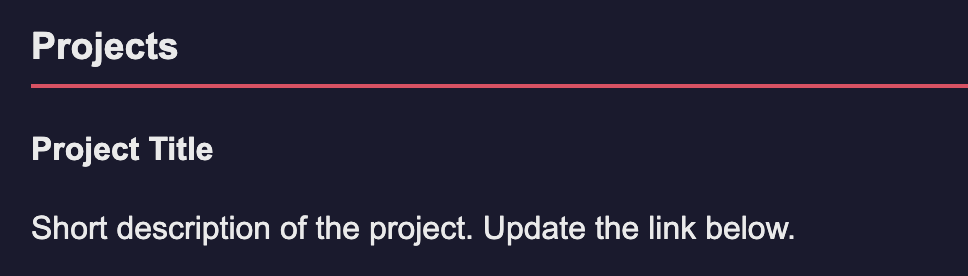
What this code does:
This code is where you are going to show the projects that you have worked on. This makes this more of a finished portfolio and more of a hub to link to other projects that you might work on using the server!
You are able to see that it is in the section, this is the same deal with all of the other ones and this is used for styling. We are going to ignore that one this time. The primary things that you need to know when working with this is that the tags with h2 are the tags that you need to put the name of the project in, and the tags with p are the places that you need to put a small description about the project and the technologies that you used in the project. You want to also include a link, the current link is a hashtag, but you are able to put in a link to any external website or webpage. Do not forget the https:// at the beggning of the link or it will not work correctly!
Github Profile:
Code:
<!-- GitHub Profile Section -->
<div class="section">
    <h3>GitHub Profile</h3>
    <a href="https://github.com/youhere">GitHub Profile Link</a>
</div>
Code Preview:
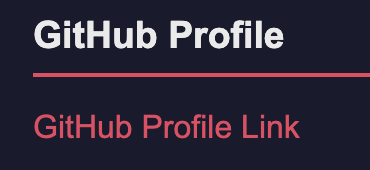
What this code does:
The code here is just a simple link and a title. It uses the h3 tag for the title to make the element of text bigger, and it uses the a tag to link the text to a link on the internet.
You should replace the hashtag on the "Link to your github profile" with your actual link to your github profile.
Omg... your done! 🎉🥳🎉 Congrats! 🎉🥳🎉
More information about how to get your boba will be available if you contact your Hack Club supervisor, which is: 28getek_c@aswarsaw.org or contact@silverflag.net
This is sadly not enough to get your boba according the the organizer of the Hack Club Boba Drops program. Look for a tutorial named Boba Drops (for real) to get a better guide on how to make a custom web page. It might also prove useful for you to use the HTML tags document to be able to learn some more about HTML tags when you are working on it so that you can further expand your skillset. For a challenge, do it all in your terminal!